
East Coast Studio
Podcast Production Excellence
East Coast Studio
Podcast Production Excellence
What difference does a microphone make ? Podcast recording tips

Yes, microphone quality makes a significant difference to your podcast, and your listeners will notice it even if they can’t explain why. A poor recording doesn’t just sound unprofessional. It creates friction. People turn it off.
The good news is that you don’t need to spend a fortune. But you do need to understand what you’re working with, and what you’re asking your guests to use. This post walks through the full range of options, from the built-in microphone on a laptop to a professional XLR setup, and explains what each one delivers and where each one falls short.
A real-world illustration
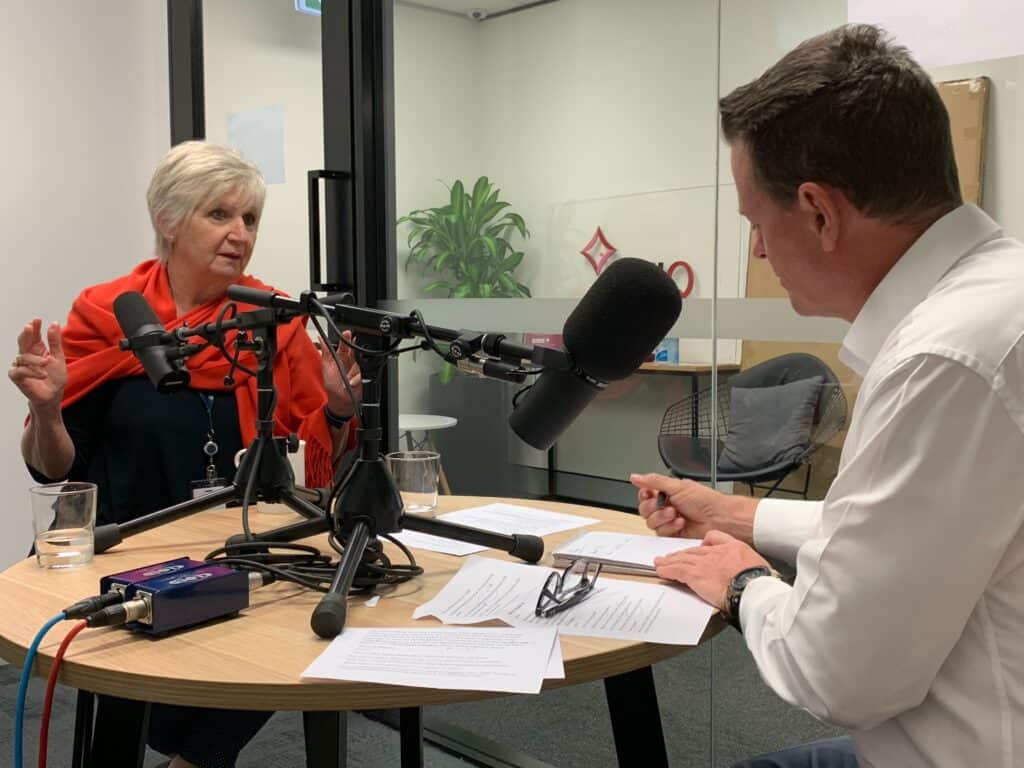
A few years ago I was producing a remote interview with guests based in Melbourne. We ran a test recording the day before the interview itself – always a good habit – and the guest was using a standard gaming headset of the kind you can pick up almost anywhere.
The quality wasn’t good enough. There was a thin, pinched quality to the audio that no amount of post-production was going to fix convincingly. So we tried an alternative microphone for the same guest, in the same room, on the same platform. The difference was immediate and obvious.
As a bonus, at one point during the test the audio switched briefly to the laptop’s built-in microphone. That gave us three tiers of quality in a single recording session – a useful comparison.
The lesson wasn’t that the guest needed expensive equipment. It was that the choice of microphone shapes the entire listening experience, and a small upgrade can make a disproportionate difference.
Audio was given no post-production or modification in this example. The WAV file generated from Squadcast was laid on to the timeline in this video and exported with AAC audio compression.
The microphone spectrum
Built-in laptop microphone
Every laptop has one, and in a pinch it will record your voice. But it will also record your fan noise, your keystrokes, the room you’re in, and everything else within a metre of you. Built-in microphones are omnidirectional, meaning they pick up sound from all directions equally. For a podcast, that’s a problem.
Use it for: testing your setup, emergency backup only. Don’t use it for: any episode you plan to publish.
Wireless and Bluetooth headphones
This is where a lot of people land, because they already own a decent pair of headphones and assume the built-in microphone will be adequate. Sometimes it is, but often it isn’t.
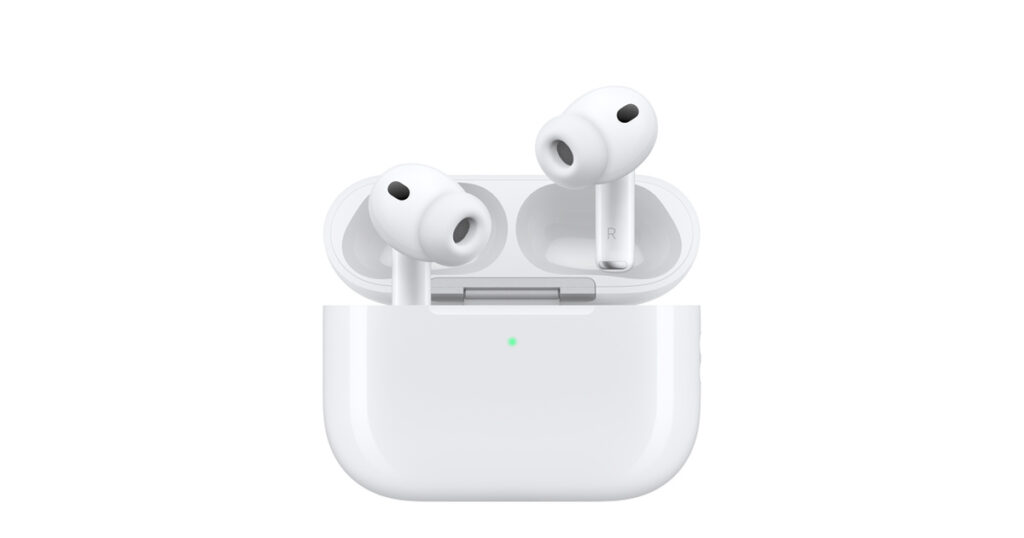
The microphone in wireless headphones is typically positioned on the cable or on an inline control, at a distance from your mouth. Bluetooth compression also affects audio quality – the codec your headphones use for calls (usually SBC or AAC) is not optimised for broadcast-quality voice recording.
The result is often a slightly muffled, processed sound that sits noticeably below the quality of a dedicated microphone. High-end options like the Apple AirPods Pro perform better than budget alternatives, but they still don’t match a dedicated microphone for podcasting.
Use them for: casual calls, video meetings where broadcast quality isn’t the goal.
Don’t use them for: interview guests if you have any control over their setup.
Dedicated USB microphone
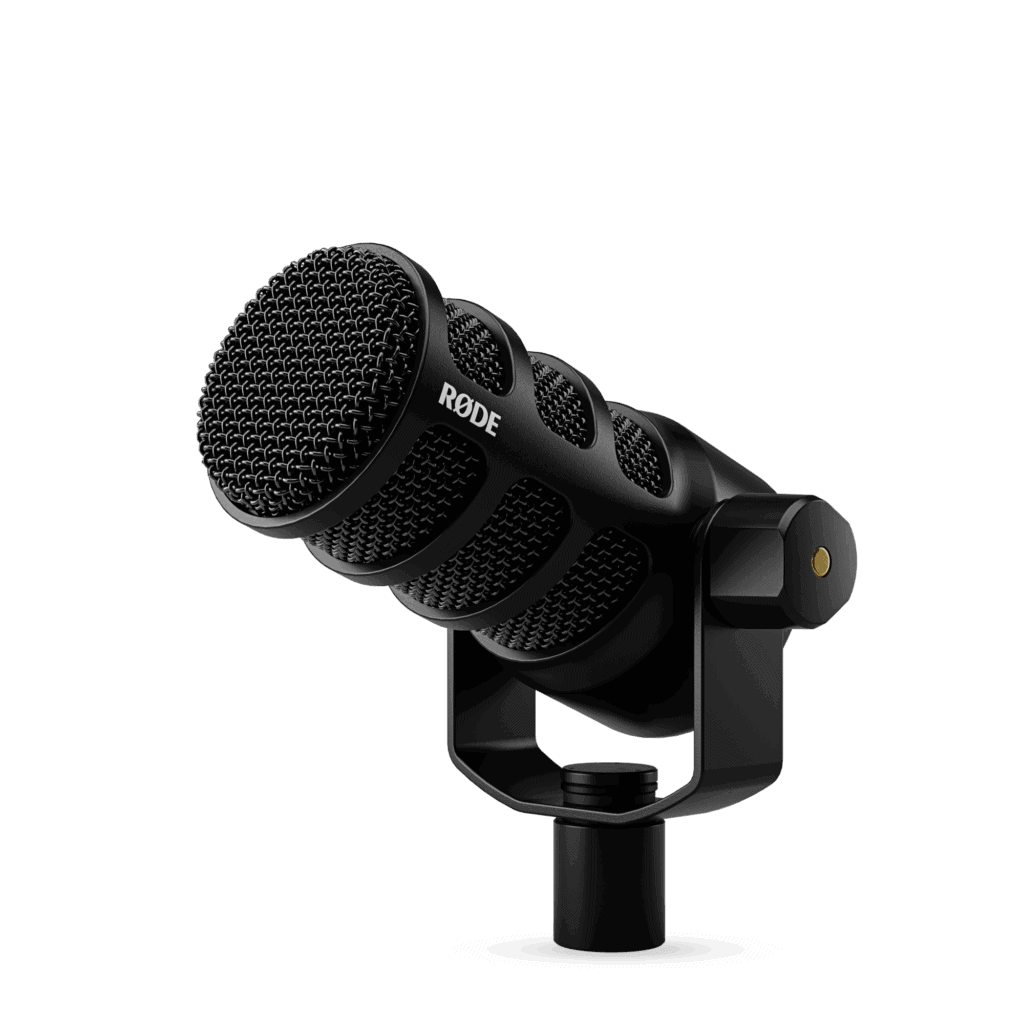
This is the recommended starting point for most podcasters and guests. A USB microphone plugs directly into a laptop or computer, requires no additional hardware, and delivers a significant step up in quality over a headset or built-in mic.
Models like the Audio-Technica ATR2100x and the Rode Podmic are widely used and well regarded. They are cardioid microphones, meaning they focus on the sound directly in front of them and reject noise from the sides and rear. That makes a real difference in typical home or office recording environments.
Cost: from around $350-$500 AUD for a solid entry-level option.
Use them for: hosts, regular guests, anyone who records more than occasionally.
XLR microphone with audio interface
This is the professional tier. An XLR microphone connects to an audio interface (a small hardware device that converts the analogue signal to digital), which connects to your computer. The setup gives you greater control over your sound, higher audio quality, and more flexibility in how you position and treat your recordings.
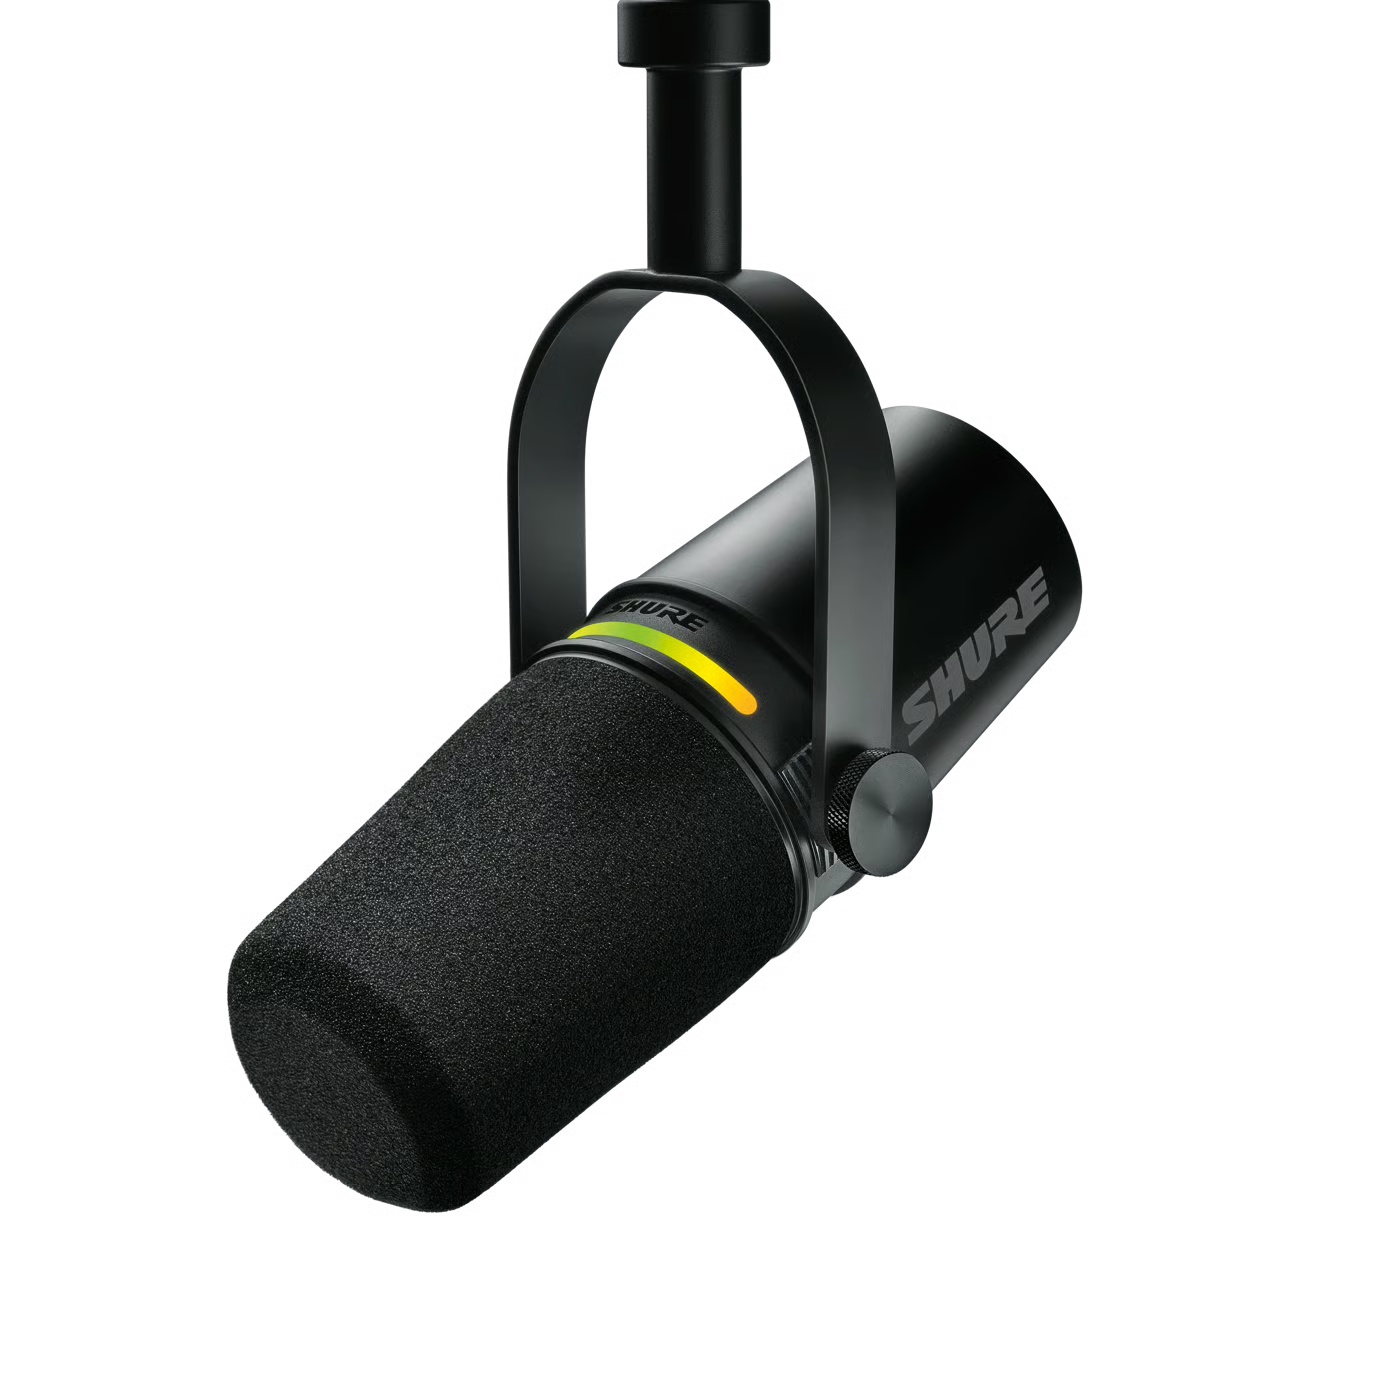
Common combinations include the Shure SM7dB paired with an interface like the Focusrite Scarlett Solo. It’s a more involved setup, but the results are audibly superior.
A best of both option is the Shure MV7+ which has both USB for direct connection to a computer and XLR for professional devices.
Cost: from around $450-$1000 AUD for a solid entry-level XLR setup.
Use them for: regular hosts who want the best possible quality, professional productions, studio environments.

Remote recording and microphone choice
The platform you use for remote recording also plays a role – and this has changed considerably in recent years.
Descript, Riverside, and Zencastr all record each participant’s audio locally on their own device and then upload it, rather than capturing the compressed audio stream of a video call. This means each participant’s microphone quality is preserved independently. If your guest uses a USB microphone on Riverside, you get the full quality of that microphone in the edit – not a compressed version of it.
Zoom and Teams, by contrast, apply their own processing and compression to the audio stream. The platform is doing a lot of work in the background – noise cancellation, level normalisation, echo reduction – and while this has improved significantly in recent years, it introduces a layer of processing that dedicated podcast recording platforms avoid.
The practical implication is that microphone quality matters even more on Zoom, because the platform’s compression tends to amplify the weaknesses of a poor microphone. A gaming headset that sounds passable on a call can sound quite rough when you pull that audio into your editing timeline.
What to recommend to your guests
If you’re the host or producer, this is one of the most impactful things you can do before a recording session. A brief, friendly briefing on microphone setup can transform the quality of your episode.
A simple hierarchy to share with guests:
- If you have a USB microphone, use it.
- If you have wired earphones with an inline microphone (like standard Apple EarPods), use those rather than wireless headphones.
- If you only have wireless headphones, use them in wired mode if possible, and position the microphone element as close to your mouth as the cable allows.
- Avoid using your laptop’s built-in microphone.
- Record in the quietest room available, away from windows, fans, and hard surfaces.
A short pre-record check the day before the interview is always worthwhile. It gives your guest time to adjust their setup without the pressure of the session itself.
The bottom line
Microphone quality is one of the highest-impact, lowest-cost improvements available to most podcasters. You don’t need a professional studio. You don’t need expensive equipment. You need a cardioid USB microphone, a reasonably quiet room, and a platform that captures your audio at source.
If you’re producing a podcast for your organisation and want to make sure every episode sounds as good as it can, we can help with the technical setup, the recording workflow, and the post-production. Take a look at our podcast production packages or get in touch to talk through what you need.
Updated May 2026. Originally published March 2021.